
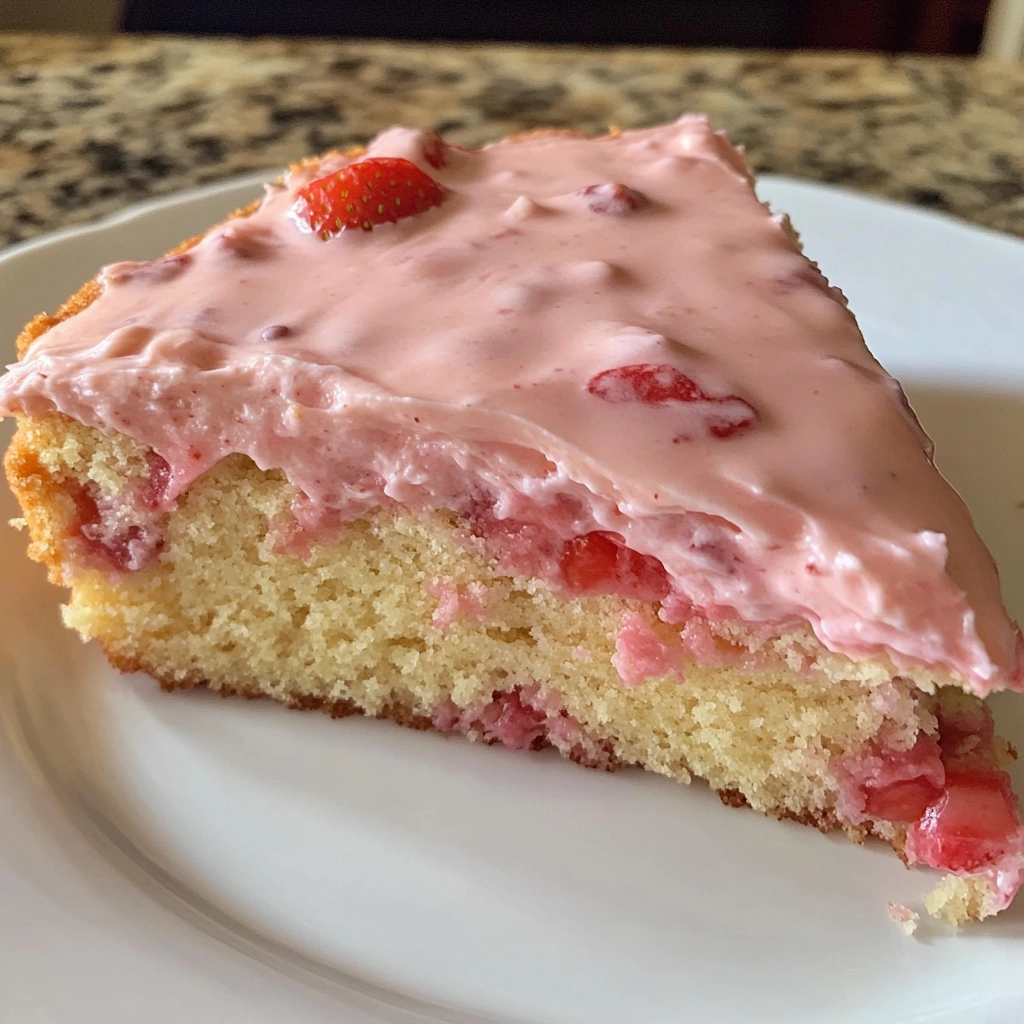
If you love moist, flavor-packed sheet cakes with a twist, this Strawberry Honeybun Cake with Creamy Strawberry Icing might just become your new go-to dessert. It combines the nostalgic charm of a classic honeybun cake with layers of real strawberry jam and a vibrant homemade strawberry glaze. The result is a rich, fruity, and satisfying cake that’s surprisingly simple to make using a boxed cake mix as its base.
Whether you’re hosting a spring brunch, planning a baby shower, or just baking for the weekend, this cake offers bakery-level flavor with a beautiful pink finish, perfect for any occasion.
Why You’ll Love This Recipe
This Strawberry Honeybun Cake with Creamy Strawberry Icing has everything you want in a quick yet show-stopping dessert:
- Moist and rich texture from the sour cream and pudding mix
- Strawberry flavor in every bite, thanks to both jam and fresh puree
- Simple preparation using pantry staples and boxed cake mix
- Visually stunning presentation with its soft pink icing
- Make-ahead friendly, great for holidays, parties, and everyday treats
Recipe Appeal and Ideal Uses
This cake is more than just a pretty dessert. It’s easy enough for beginners but impressive enough for guests. It shines in a variety of settings:
- Potlucks and church gatherings
- Spring and summer birthdays
- Mother’s Day or Easter desserts
- Afternoon coffee breaks
- Dessert tables for baby or bridal showers
Its balance of buttery richness and sweet strawberry glaze makes it a great alternative to more complex layer cakes.
Preparation Phase & Tips
Taking a few moments to prepare properly can ensure excellent results and save you cleanup time later. Here’s how to set yourself up for success.
Pre-Baking Tips
- Bring eggs and sour cream to room temperature: This helps everything mix evenly.
- Use high-quality strawberry jam: Avoid overly processed or syrupy jams for the best flavor and texture.
- Don’t over-swirl the jam: For beautiful layers, gently spoon the jam and let it bake into the batter naturally.
- Cool the cake completely before adding icing: This ensures the glaze doesn’t melt into the cake.
Essential Tools and Equipment
You don’t need advanced baking tools to make this cake, but having the right equipment makes the process smoother.
Recommended Tools
- 9×13 inch baking pan
- Electric mixer (hand or stand)
- Mixing bowls (large and medium)
- Measuring cups and spoons
- Rubber spatula
- Whisk
- Offset spatula (optional, for icing)
Why Each Tool Matters
- Mixer: Ensures even blending for a smooth, lump-free batter.
- Spatula: Helps scrape down bowls and spread batter evenly.
- Offset spatula: Provides better control when spreading icing cleanly.
- Whisk: Useful when smoothing out powdered sugar into the icing.
Ingredients List
Here’s a complete breakdown of everything you’ll need for both the cake and the icing.
For the Cake
- 1 box (16.5 oz) yellow cake mix
- 1 package (3.4 oz) instant vanilla pudding mix
- 4 large eggs
- 1 cup sour cream
- ½ cup vegetable oil
- ½ cup milk
- 1 teaspoon vanilla extract
- ½ cup strawberry jam or preserves, divided
- ½ cup chopped pecans or walnuts (optional)
For the Creamy Strawberry Icing
- 4 cups powdered sugar
- ½ cup (1 stick) unsalted butter, softened
- ¼ cup milk
- 1 teaspoon vanilla extract
- ¼ cup strawberry puree (from fresh or frozen strawberries)
- Pink food coloring (optional)
Step-by-Step Directions
Follow these simple steps for a soft, flavorful cake topped with a creamy, fruity glaze.
Baking the Cake
- Preheat the oven to 350°F (175°C). Grease and flour a 9×13 inch baking pan.
- In a large bowl, combine the cake mix, pudding mix, eggs, sour cream, vegetable oil, milk, and vanilla extract.
- Beat the mixture with an electric mixer on medium speed for 2 to 3 minutes until smooth and well combined.
- Pour half the batter into the prepared pan.
- Drop spoonfuls of half of the strawberry jam over the batter. Avoid swirling too much.
- Sprinkle the chopped nuts over the jam if using.
- Pour the remaining batter evenly over the jam and nut layer.
- Drop spoonfuls of the remaining strawberry jam on top of the second layer.
- Bake for 30 to 35 minutes or until a toothpick inserted into the center comes out clean.
- Allow the cake to cool completely in the pan before adding icing.
Making the Icing
- In a large mixing bowl, beat the softened butter until smooth.
- Gradually add powdered sugar, alternating with the milk. Beat until light and creamy.
- Stir in vanilla extract and strawberry puree until well blended.
- Add a small amount of pink food coloring if you want a more vibrant hue.
- Once the cake has cooled, pour the icing over the top and spread evenly using a spatula.
- Let the icing set before cutting and serving.
Serving and Enhancing the Strawberry Honeybun Cake
Serving Suggestions
The Strawberry Honeybun Cake is versatile, delicious, and perfect for a variety of occasions. Whether you’re hosting a spring brunch, celebrating a birthday, or simply want a weekday dessert, this cake delivers big flavor with minimal effort. Here are some creative ways to serve and elevate your cake presentation:
- Slice it neatly: Use a serrated knife to cut clean slices. Wipe the blade between cuts for best presentation.
- Add fresh strawberries: Garnish each serving with halved or sliced fresh strawberries. This enhances the fruit-forward flavor and makes it visually appealing.
- Drizzle with extra strawberry puree: For a bakery-style finish, drizzle a touch of warm puree or syrup over each slice.
- Serve chilled or room temperature: The cake is delicious either way. Chilling makes the icing firm, while room temp brings out richer flavors.
- Pair with a warm drink: Try coffee, herbal tea, or a chai latte. The warm spice of the drink complements the fruity sweetness of the cake.
- Use as a celebration cake: Decorate with piped whipped cream or edible flowers for special occasions like baby showers or anniversaries.
This cake’s naturally sweet and tart flavor pairs beautifully with both fruity and creamy accompaniments.
Common Mistakes to Avoid
Even though the Strawberry Honeybun Cake is simple to make, a few common errors can affect the final outcome. Avoid these pitfalls to ensure your cake turns out perfect every time:
- Overmixing the batter: Beating the batter for too long can develop too much gluten, leading to a dense cake. Mix only until ingredients are combined.
- Using too much jam: More isn’t always better. Overloading the cake with jam can cause soggy spots and uneven baking.
- Skipping the flouring step: Greasing and flouring the baking pan prevents the cake from sticking and ensures clean edges when slicing.
- Applying icing on a warm cake: Always let the cake cool completely before icing. Warm cake will melt the butter in the icing, causing it to slide off.
- Inconsistent puree: Make sure the strawberry puree is smooth and strained if necessary to avoid seeds in the icing.
By avoiding these issues, you’ll bake a more consistent, flavorful, and attractive dessert.
How to Perfect the Recipe
Even a great recipe can be made better with a few extra tips. Follow these methods to elevate your Strawberry Honeybun Cake and make it bakery-quality.
- Use room temperature ingredients: Eggs, sour cream, and milk at room temperature blend more easily into the batter, creating a smoother texture.
- Swirl jam properly: Drop the jam in small spoonfuls across the batter, then use a butter knife to gently swirl. This gives a balanced jam distribution without overpowering any bite.
- Choose the right jam: Use a high-quality strawberry jam or preserve with visible fruit pieces. It intensifies flavor and adds texture.
- Chill the icing before applying: If your kitchen is warm, pop the prepared icing into the fridge for 10 minutes before spreading. It firms up and creates a clean finish.
- Use an offset spatula: This tool makes it easier to spread icing smoothly and evenly without tearing the cake.
These simple yet effective adjustments help you turn a basic cake into a showstopping dessert.
Side Dish Recommendations
Pairing this cake with the right side dish or beverage can transform it into a complete dessert experience. Below are eight recommended accompaniments that enhance the flavor and contrast the sweetness of the Strawberry Honeybun Cake.
- Fresh fruit salad with mint
A mix of berries, melon, and citrus with a hint of fresh mint adds a refreshing and healthy touch. - Vanilla ice cream
Classic and creamy, vanilla ice cream balances the fruity tang of the cake and icing. - Sparkling strawberry lemonade
This bubbly drink complements the strawberry flavor and adds a refreshing contrast. - Lemon whipped cream
Light and zesty, lemon-infused whipped cream cuts through the sweetness and offers a sophisticated pairing. - Chocolate-covered strawberries
A chocolate-strawberry combo never fails. These make a beautiful and tasty side. - Mini tea sandwiches
If serving the cake at a brunch or afternoon tea, add some savory mini sandwiches to balance the sweet. - Iced coffee or cold brew
The richness of cold coffee pairs beautifully with the cake’s dense crumb and creamy icing. - Raspberry sorbet
A tangy and light option that mirrors the fruity profile of the cake while refreshing the palate.
These side options are easy to prepare and help round out your dessert table while keeping the Strawberry Honeybun Cake as the star.
Recipe Tips for the Best Strawberry Honeybun Cake
Creating the perfect Strawberry Honeybun Cake isn’t just about following the recipe—it’s about understanding the finer details that elevate your results from good to exceptional. These expert-level tips ensure your cake is rich in flavor, perfectly textured, and visually appealing.
- Use full-fat sour cream
Full-fat sour cream adds extra moisture and richness to the cake, making each bite soft and tender. - Test for doneness carefully
Because of the jam swirls, some areas may appear underdone. Always insert a skewer into the center and ensure it comes out clean. Avoid relying solely on time. - Let the cake cool fully
If you rush the cooling process, the icing may melt or lose its texture. Allow the cake to sit at room temperature until it is completely cool before frosting. - For smoother icing
Strain the strawberry puree before mixing it into the icing if you prefer a seedless, velvety finish. - Chill before serving
If you prefer a firmer icing texture, refrigerate the finished cake for 30 to 60 minutes before slicing.
Storage and Reheating Instructions
To enjoy your Strawberry Honeybun Cake over several days—or even weeks—proper storage is essential. This cake stays moist and flavorful with the right care.
- Room Temperature
Store the cake in an airtight container at room temperature for up to 2 days. Ensure it is kept in a cool, dry place. - Refrigerator Storage
For extended freshness, refrigerate the cake for up to 7 days. Cover the pan tightly with foil or transfer slices to a sealed container to prevent drying out. - Freezer Friendly
The Strawberry Honeybun Cake freezes well. Wrap individual slices in plastic wrap, then place them in a freezer-safe bag or container. Freeze for up to 2 months. - Reheating Instructions
To enjoy warm, microwave individual slices for 10–15 seconds. This softens the crumb and slightly melts the icing for a freshly-baked effect.
Frequently Asked Questions
Can I make this cake in advance?
Yes. You can bake the cake up to a day in advance and frost it later. This actually helps the flavors deepen and allows the texture to set perfectly.
What can I use instead of strawberry jam?
You can substitute raspberry jam, blueberry preserves, or even a fruit compote. However, for the signature flavor, high-quality strawberry jam is recommended.
Can I use a different cake mix?
Absolutely. White cake mix or even strawberry cake mix will work as a base. Keep in mind that using a different mix may alter the final flavor and texture slightly.
How can I make it nut-free?
Just omit the nuts entirely. The cake will still be moist and flavorful without them. You can add extra jam if you’d like a bolder strawberry taste.
Is this cake too sweet?
The sweetness level is well-balanced, especially if you use a tangy strawberry jam. You can reduce the powdered sugar in the icing slightly if you prefer a milder sweetness.
Can I skip the food coloring?
Yes. The natural strawberry puree already adds a soft pink hue. The food coloring is optional and only used for a brighter visual presentation.
Do I have to use fresh strawberries for the icing?
No. Frozen strawberries work perfectly. Just thaw and puree them before using. If you’re short on time, store-bought strawberry puree can also work.
Why did my cake sink in the middle?
This could be due to underbaking or opening the oven door too early. Always bake until a skewer comes out clean, and avoid disturbing the cake during the first 25 minutes.
Conclusion
The Strawberry Honeybun Cake is the kind of dessert that brings comfort, flavor, and a little nostalgia in every bite. It strikes a perfect balance between sweet strawberry jam, a rich moist base, and a creamy pink icing that looks as good as it tastes.
Ideal for family gatherings, potlucks, birthdays, or just a weekend treat, this cake has all the qualities of a crowd-pleaser. Whether you enjoy it with your morning coffee or as the final course of a dinner party, it always delivers.
With simple pantry ingredients, an easy prep process, and make-ahead options, this recipe is accessible to bakers of all levels. Plus, the flexibility of substitutions—like different jams, cake mixes, or going nut-free—means you can make it truly your own.
If you’re looking for a dessert that combines beauty, ease, and flavor, the Strawberry Honeybun Cake is it. Try it once, and it might just become a regular in your baking rotation.