
What Makes Chocolate Chip Cream Scones Special?
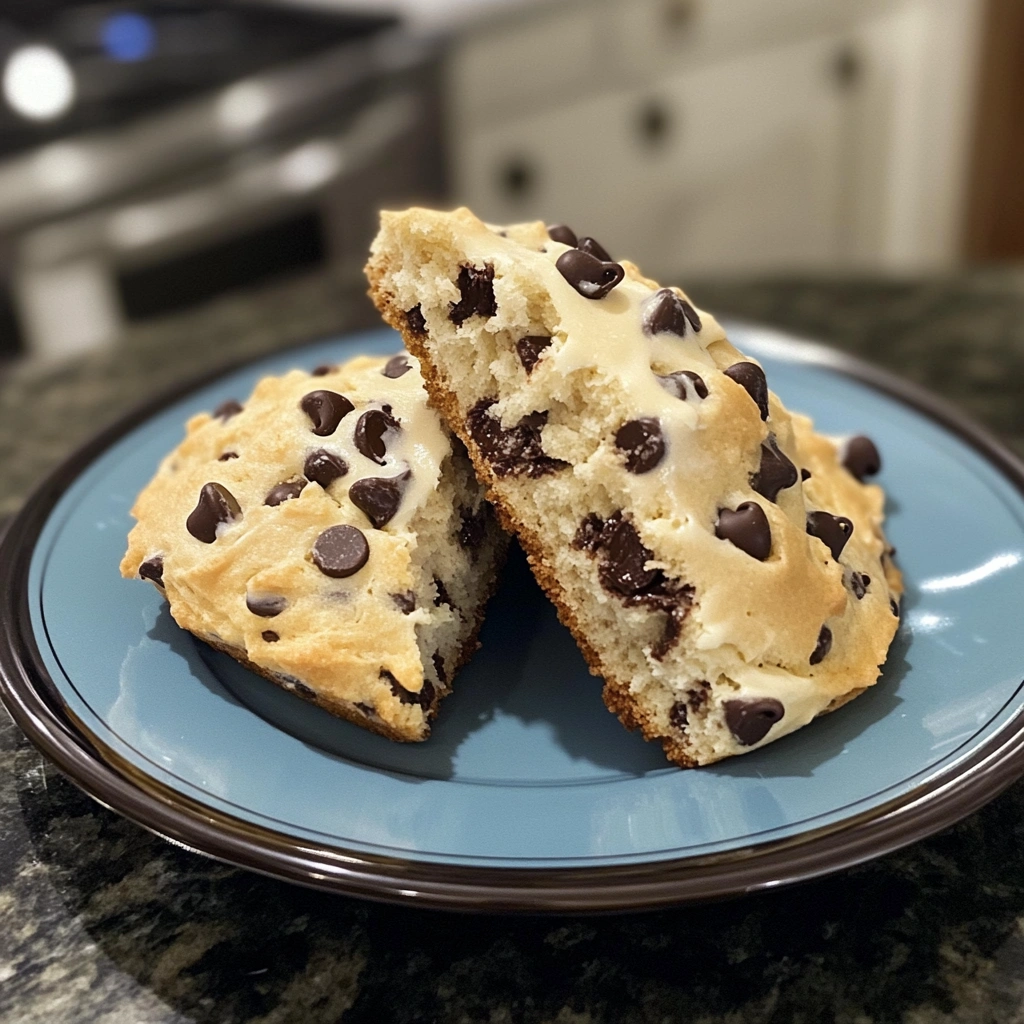
If you’re a fan of bakery-quality pastries made from scratch, this chocolate chip cream scones recipe will quickly become a favorite. These scones are rich, tender, and lightly sweetened, with a delicate crumb and crisp golden crust. The use of heavy cream and cold butter creates the perfect balance between moist and flaky. Packed with gooey chocolate chips, they make an irresistible treat whether served for breakfast, brunch, or dessert.
These scones are not only delicious but also incredibly easy to prepare. With simple pantry staples and a few key techniques, you can bake up a batch that rivals anything from your local café. Whether you’re serving them fresh from the oven or saving them for later, this recipe is both versatile and foolproof.

Why You’ll Love This Chocolate Chip Cream Scones Recipe
- Rich, tender texture with crisp edges
- Simple and straightforward to make
- Perfectly sweet with bursts of melted chocolate
- Ideal for any occasion—breakfast, brunch, dessert, or afternoon tea
- Easily customizable with flavor add-ins like zest, spices, or other mix-ins
If you’ve never made scones before, don’t worry. This guide walks you through every step, from prepping ingredients to achieving the ideal bake.
Preparation Phase and Tools to Use
Before mixing ingredients, make sure your prep area is organized and your tools are clean and ready. Start by measuring out all ingredients and chilling the butter.
Essential Tools and Equipment
- Large mixing bowl
- Medium mixing bowl
- Pastry cutter or fork
- Measuring cups and spoons
- Wooden spoon or rubber spatula
- Biscuit cutter or sharp knife
- Baking sheet
- Parchment paper or silicone baking mat
Importance of Each Tool
Using the right tools ensures a smooth baking process and consistent results. The pastry cutter helps cut in the butter evenly, which is key for flaky texture. The baking sheet lined with parchment paper promotes even browning and prevents sticking. A sharp biscuit cutter helps maintain clean edges, encouraging proper rising in the oven.
Preparation Tips
To get perfect chocolate chip cream scones, attention to detail during the prep stage is crucial. Here are a few preparation tips to help you succeed:
- Use cold butter. Cold butter is essential for achieving a flaky texture. If needed, freeze the butter briefly before cutting it into cubes.
- Don’t overmix. Once the wet and dry ingredients come together, stir gently. Overmixing leads to dense, tough scones.
- Handle the dough lightly. Kneading or pressing the dough too much can develop gluten, making the scones chewy.
- Chill before baking. For taller, flakier scones, chill the shaped dough for at least 30 minutes before placing it in the oven.
Ingredients List
Here is a clear and organized breakdown of all ingredients required for this chocolate chip cream scones recipe.
Dry Ingredients
- 2 cups all-purpose flour
- 1/2 cup granulated sugar
- 1 tablespoon baking powder
- 1/4 teaspoon salt
Wet Ingredients
- 1 cup heavy cream
- 1 teaspoon vanilla extract
Add-ins
- 1 cup chocolate chips
Fat
- 1/2 cup (1 stick) cold unsalted butter, cut into cubes
Step-by-Step Instructions
Follow these detailed steps to make perfect scones every time.
- Preheat the oven to 400°F (200°C). Line a baking sheet with parchment paper.
- In a large bowl, whisk together the flour, sugar, baking powder, and salt until well combined.
- Cut in the cold butter using a pastry cutter or your fingers. The mixture should resemble coarse crumbs.
- In a separate medium bowl, stir together the heavy cream and vanilla extract.
- Pour the cream mixture into the dry ingredients and gently stir until just combined. The dough should be slightly shaggy and not overly smooth.
- Gently fold in the chocolate chips. Distribute them evenly without overworking the dough.
- Transfer the dough to a lightly floured surface. Use your hands to pat it into a 1-inch thick circle.
- Cut the dough into wedges using a sharp knife, or use a round biscuit cutter for traditional shapes.
- Place the scones on the prepared baking sheet, leaving space between each one.
- For best results, chill the scones on the baking sheet in the refrigerator for 30 to 60 minutes. This step improves texture and prevents spreading.
- Bake for 15 to 20 minutes, or until the tops are golden brown.
- Let cool slightly before serving warm or at room temperature.
Serving Suggestions for Chocolate Chip Cream Scones
Chocolate chip cream scones are incredibly versatile. Their lightly sweet flavor pairs well with a variety of toppings and beverages. Whether you’re preparing a brunch spread or enjoying an afternoon snack, there are many creative ways to serve them.
Here are several serving ideas to elevate your scones:
- Serve warm with clotted cream or whipped butter. The creamy texture enhances the rich flavor of the scones.
- Add a light drizzle of honey or maple syrup. A touch of natural sweetness complements the chocolate without overpowering it.
- Top with powdered sugar. A dusting of sugar adds a delicate finish.
- Pair with seasonal fruit. Fresh berries, orange slices, or apple compote are excellent accompaniments.
- Offer fruit preserves. Strawberry, raspberry, or apricot jam pairs beautifully with the soft crumb of the scones.
- Serve with a glaze. A simple vanilla or chocolate glaze adds elegance and extra flavor.
- Include on a dessert board. Slice in half and fill with mascarpone or cream cheese for a unique twist.
- Pair with beverages. Coffee, hot chocolate, or a cup of tea completes the experience.
Whether served plain or dressed up, these scones are always a hit at breakfast, brunch, or tea time.
Common Mistakes to Avoid When Making Chocolate Chip Cream Scones
Getting the texture and flavor just right requires avoiding a few common pitfalls. Here are some of the most frequent mistakes and how to prevent them:
1. Overmixing the Dough
Once the wet and dry ingredients are combined, stir gently and stop as soon as the mixture comes together. Overmixing develops gluten, which leads to dense, tough scones.
2. Using Warm Butter
Cold butter is crucial for flaky scones. If your butter is too soft, it will blend too much into the flour, resulting in a dense and flat texture.
3. Skipping the Chill Time
Chilling the dough allows the butter to firm up and ensures that the scones rise well in the oven. Skipping this step can lead to spreading and poor texture.
4. Crowding the Baking Sheet
Leave at least an inch between scones. Proper air circulation ensures even browning and allows the sides to crisp up.
5. Using Expired Baking Powder
Fresh baking powder is essential for a good rise. Always check the expiration date before baking.
6. Baking at the Wrong Temperature
If your oven is too cool, the scones won’t rise properly. Too hot, and the outside may brown before the inside cooks through. Always preheat your oven to 400°F and use an oven thermometer if needed.
How to Perfect the Chocolate Chip Cream Scones Recipe
You can improve the flavor and texture of your scones with a few professional tips. Even small adjustments can make a noticeable difference.
Use Frozen Butter
Grating frozen butter into the flour makes it easier to incorporate evenly, creating perfect buttery layers.
Chill the Dough
If time allows, chill the scone dough for 30 to 60 minutes before baking. This helps the scones maintain their shape and creates a flakier texture.
Add a Finishing Touch
Brush the tops with heavy cream or egg wash before baking. This promotes a rich, golden-brown crust.
Use High-Quality Chocolate Chips
Premium chocolate chips melt better and provide a richer taste. Look for brands with a higher cocoa percentage and minimal additives.
Experiment with Flavor Additions
Enhance the dough with small flavor additions, such as:
- 1 teaspoon orange or lemon zest
- 1/2 teaspoon cinnamon or nutmeg
- 1/4 cup chopped nuts like pecans or almonds
These subtle changes can add complexity to your scones without overwhelming the original recipe.
Recommended Side Dishes to Serve with Chocolate Chip Cream Scones
To create a complete and satisfying meal or snack experience, consider serving your scones with any of the following side dishes. These pairings complement the rich, sweet flavor of the scones while adding texture and freshness.
1. Fresh Fruit Salad
A medley of strawberries, blueberries, grapes, and kiwi adds brightness and balances the richness of the scones.
2. Greek Yogurt Parfait
Layer Greek yogurt with granola and honey for a protein-packed side that’s creamy, crunchy, and satisfying.
3. Soft Scrambled Eggs
The light texture of gently scrambled eggs offers a savory counterpoint to the sweet chocolate chips.
4. Iced Chai Latte
Spiced and slightly sweet, a chai latte pairs well with the warm, buttery flavor of the scones.
5. Mascarpone Cheese
Spread a bit of mascarpone on warm scones for a luxurious bite. Top with a drizzle of honey for extra indulgence.
6. Toasted Almonds or Walnuts
Serve a small bowl of toasted nuts for crunch and a nutty flavor that pairs beautifully with chocolate.
7. Lemon Curd
The tang of lemon curd cuts through the richness of the scones and adds a zesty contrast.
8. Traditional English Tea
Black teas like Earl Grey or English Breakfast are classic companions to scones and bring out their comforting qualities.
Pro Tips to Make the Best Chocolate Chip Cream Scones
Perfecting your chocolate chip cream scones doesn’t require advanced skills, but using a few tried-and-true techniques can elevate your results dramatically. These tips are designed to help you create scones that are consistently tender, moist, and full of rich flavor.
Use High-Fat Dairy
Choose heavy cream with a fat content of at least 36 percent. The richness of the cream is essential for the tender crumb that defines a classic cream scone. Lower-fat milk or substitutes will not produce the same results.
Weigh Your Ingredients
For consistent texture and results, use a kitchen scale to measure ingredients, especially the flour. Too much flour can make the dough dry and dense.
Don’t Skip the Cold Butter
The flakiness of scones depends on small pieces of cold butter distributed throughout the dough. When the butter melts in the oven, it creates steam, helping the scones rise and form layers.
Fold Instead of Knead
Avoid over-kneading. Gently folding the dough helps incorporate all ingredients without activating the gluten too much, keeping the scones soft and crumbly.
Add Mix-ins Carefully
Chocolate chips should be gently folded into the dough after the wet and dry ingredients are just combined. This ensures even distribution without breaking the dough structure.
Shape with Intention
Flatten the dough with your hands rather than a rolling pin. A rolling pin can compact the dough, making the scones dense. Aim for a thickness of about one inch for even baking and an ideal texture.
Storage and Reheating Instructions
Keeping your chocolate chip cream scones fresh is easy with the right storage methods. Whether you’re storing baked scones or prepping dough ahead of time, follow these tips for best results.
Room Temperature Storage
- Store in an airtight container for up to 2 days.
- Keep away from direct sunlight and heat sources.
- Wrap each scone individually in parchment paper to maintain freshness.
Refrigerated Storage
- Refrigerate for up to 5 days in a sealed container.
- Allow refrigerated scones to come to room temperature before serving or reheating.
Freezing Instructions
Unbaked Scones:
- Shape the scones and place them on a baking sheet.
- Freeze until solid, then transfer to a freezer-safe bag or container.
- Bake from frozen, adding 3 to 5 extra minutes to the bake time.
Baked Scones:
- Cool completely before freezing.
- Wrap tightly in plastic wrap and store in a freezer bag.
- Reheat directly from frozen using the methods below.
Reheating Methods
- Oven: Place scones in a 300°F (150°C) oven for 5 to 7 minutes to restore crispness.
- Microwave: Heat on a low setting for 10 to 15 seconds for a soft texture.
- Toaster Oven: Ideal for small batches, reheat at 300°F for 5 minutes.
Avoid overheating, as this can dry out the scones or make the chocolate chips too runny.
Frequently Asked Questions (FAQs)
Can I make these scones ahead of time?
Yes. You can make the dough, shape the scones, and refrigerate them overnight. Bake directly from the fridge the next morning.
Can I freeze the dough?
Absolutely. Unbaked scones freeze well. Shape them, freeze individually on a tray, then transfer to a freezer bag. Bake straight from frozen.
What type of chocolate chips work best?
Semi-sweet or dark chocolate chips are ideal. They provide a deep chocolate flavor without overwhelming the buttery dough.
Can I make this recipe gluten-free?
Yes. Use a 1:1 gluten-free all-purpose flour blend. Choose a brand with xanthan gum included for best results.
Can I use milk instead of cream?
Milk can be used in a pinch, but the scones will be less rich and may turn out drier. For better results, try using full-fat yogurt or a mixture of milk and melted butter.
Why didn’t my scones rise properly?
This could be due to expired baking powder, overmixed dough, or skipping the chilling step. Make sure your oven is fully preheated before baking.
Can I use other mix-ins besides chocolate chips?
Yes. You can substitute or combine chocolate chips with nuts, dried fruit, white chocolate, or flavored baking chips.
Conclusion
Making chocolate chip cream scones from scratch is a rewarding and surprisingly easy experience. With just a handful of high-quality ingredients and a few smart techniques, you can produce bakery-style scones that are tender, flavorful, and packed with melty chocolate in every bite.
These scones are perfect for breakfast, brunch gatherings, tea parties, or a comforting treat at the end of the day. From prep to storage, each step offers an opportunity to customize and perfect your baking style. Whether you enjoy them warm from the oven or reheated the next day, these scones are guaranteed to impress.
For more baking inspiration, check out our other homemade scone recipes and pastry tutorials. Let this chocolate chip cream scone recipe be your foundation for a whole new level of home baking.